Easy Beef & Cauliflower Stir Fry

Easy Beef & Cauliflower Stir Fry

Ingredients:

  • 500g Beef, thinly sliced (I use stir-fry beef)
  • 500g Cauliflower florets, cut into bite sized pieces (I use a bag of frozen cauli)
  • 3 Tbsp olive oil
  • 1 Brown onion, diced
  • 1 Capsicum, diced (optional)
  • 3 Garlic Cloves, minced (fresh or in a jar)
  • 1 Tbsp Ginger, minced
  • Chilli flakes (optional and to taste)

Sauce Ingredients:

  • 1/2 cup Water
  • 1 Tbsp Arrowroot flour (can use corn starch or regular flour as thickener)
  • 1/4 cup Soy sauce
  • 2 tsp Rice wine vinegar or distilled white vinegar
  • 2 tsp Sesame seed oil
  • 1 Tbsp Honey (optional – omit for low carb)

Method:

  1. Make the sauce first by mixing together the water and arrowroot flour/cornstarch until smooth. Add in all remaining sauce ingredients, stir until combined and set aside.
  2. Heat a large frying pan over medium-high heat. Add 2 Tbsp of oil and the onion, garlic and ginger. Cook until onion is translucent.
  3. Add cauliflower and capsicum and cook until it is tender. If using frozen add a lid to the frying pan and allow to cook for 5-10 minutes or until soft, stirring every couple of minutes. If using fresh and you prefer your cauliflower soft, add about 1/4 cup of water to the pan while it cooks. Cook until water is absorbed and cauliflower is soft.
  4. Remove all ingredients from pan and place into a bowl while you cook the beef.
  5. Add remaining 1 Tbsp of oil to pan. Increase pan heat to high.
  6. Add beef and sear. This should take no more than 30 seconds each side. DO NOT overcook – a little pink meat is OK as it will cook through later.
  7. Add cauliflower back into the pan with the beef and stir to combine.
  8. Stir the sauce in the bowl to make sure the arrowroot flour/ cornstarch is incorporated and pour the sauce over the beef and cauliflower.
  9. Heat the sauce to a strong simmer. Cook for about 1-2 minutes to thicken the sauce, stirring occasionally to make sure all beef is cooked and beef and cauliflower is coated with sauce.
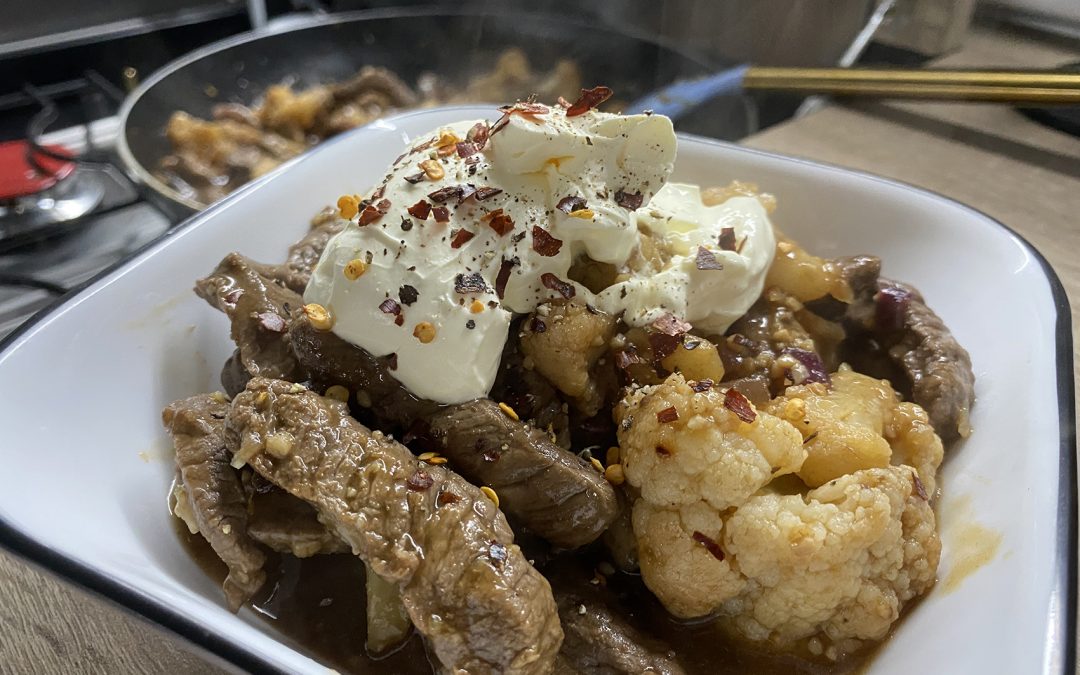
  10. Serve with sour cream. Can also be served with cauli-rice or cauli mash to be kept low-carb. Serve with rice or pasta if preferred.
Black Rocks, Esk, NSW

Black Rocks, Esk, NSW

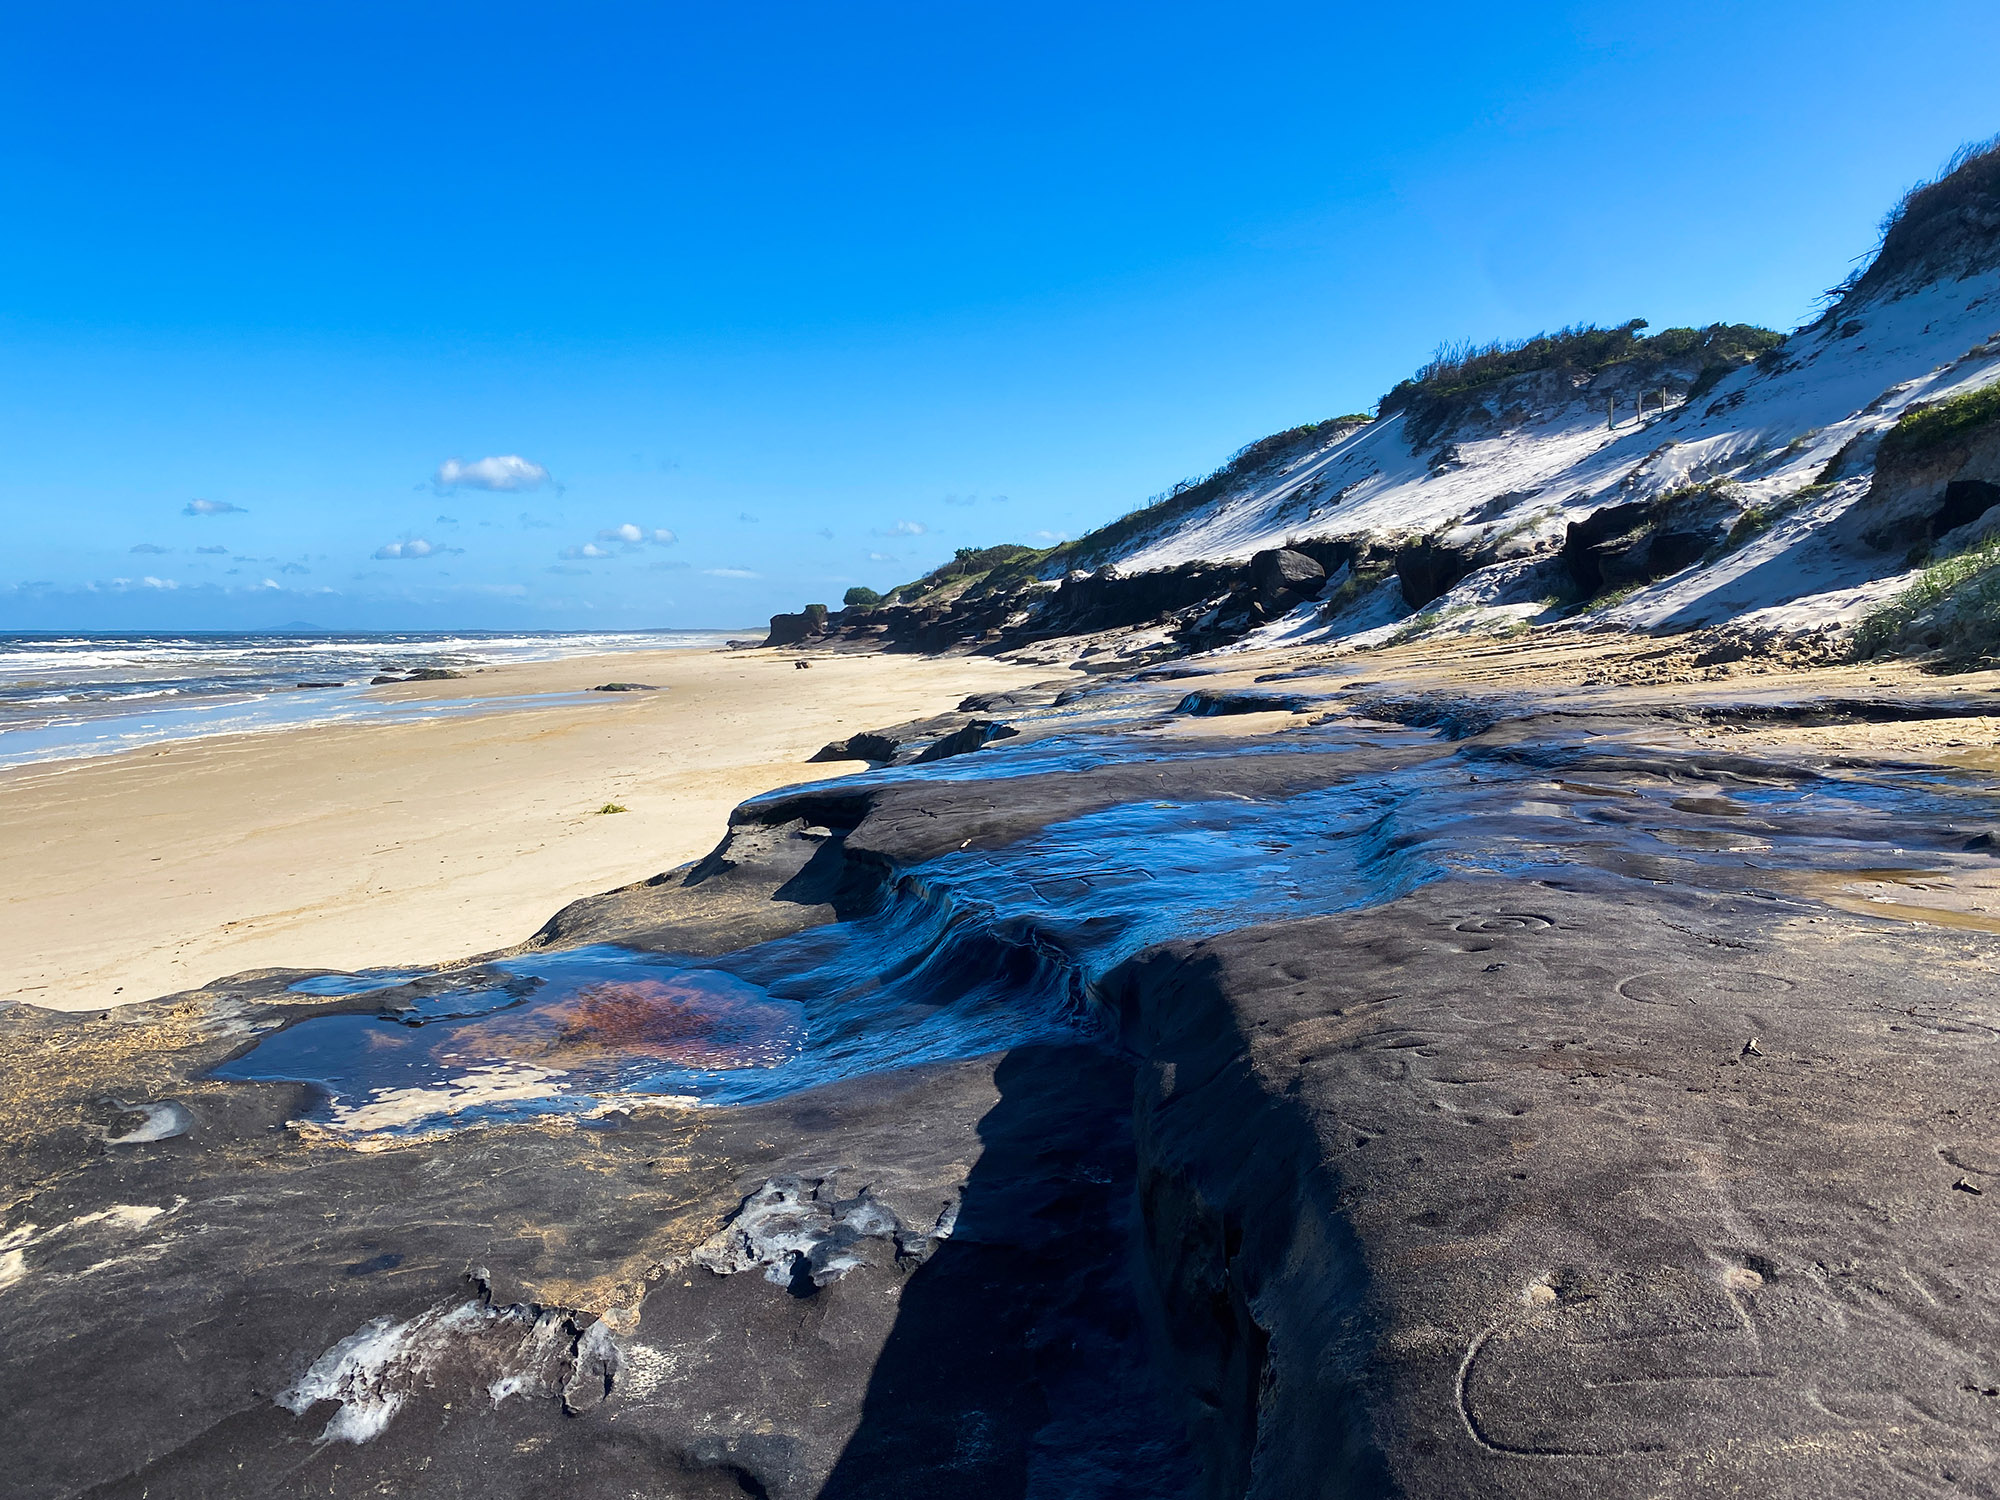
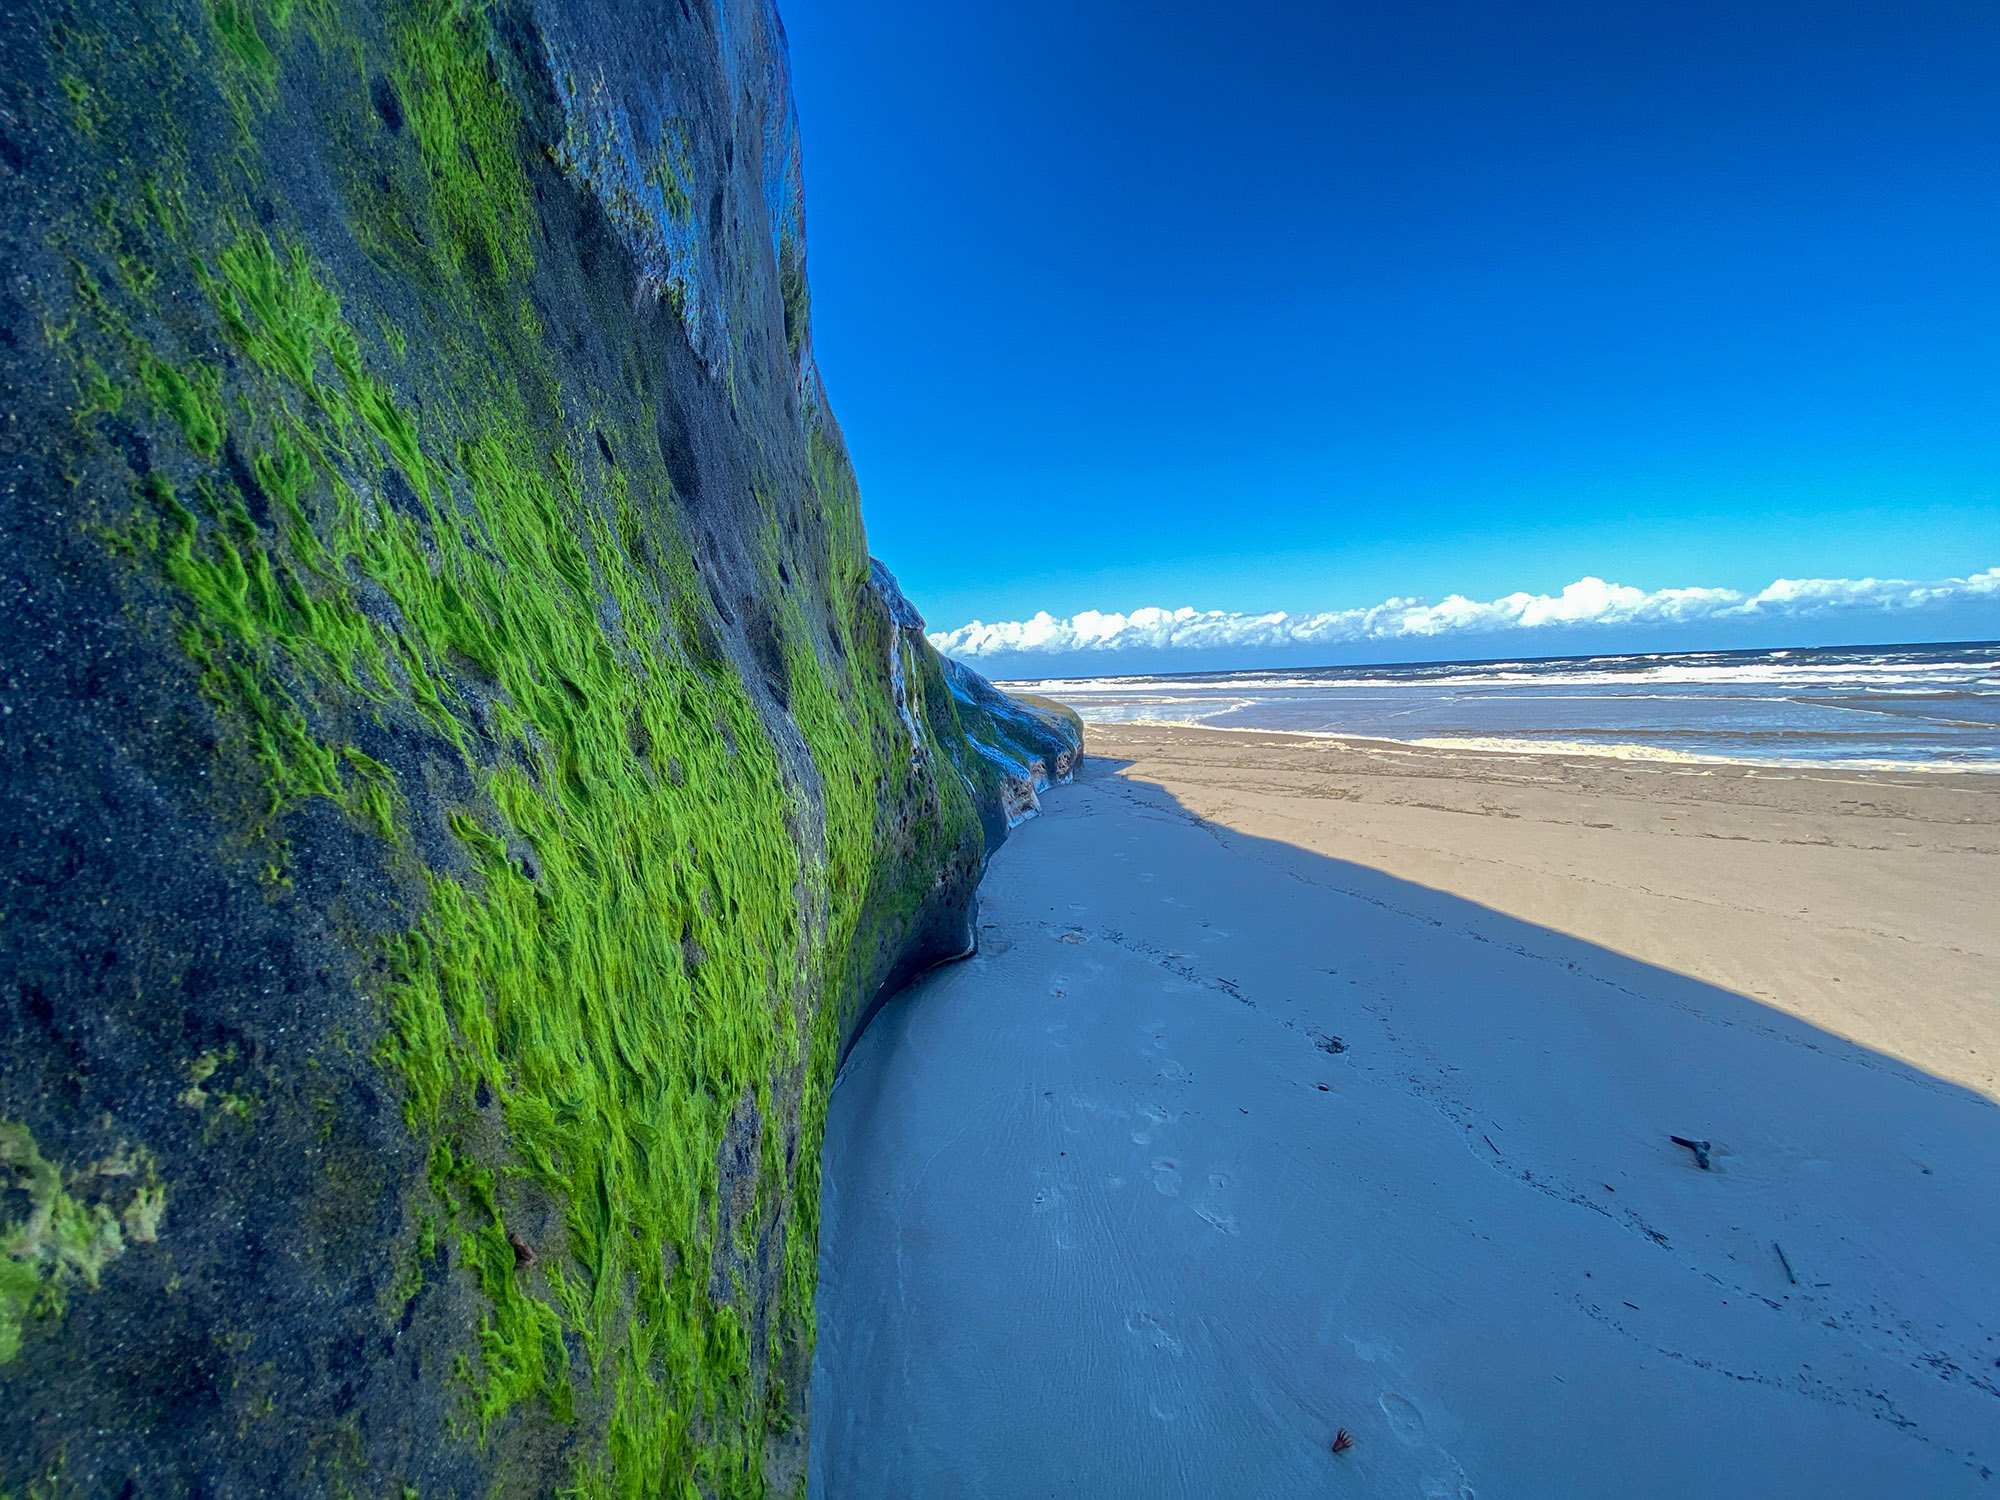
Sand dunes, huge black rocks, perfect grassy campsites, and a spectacular coastline – this is Black Rocks, NSW – an incredible natural paradise.

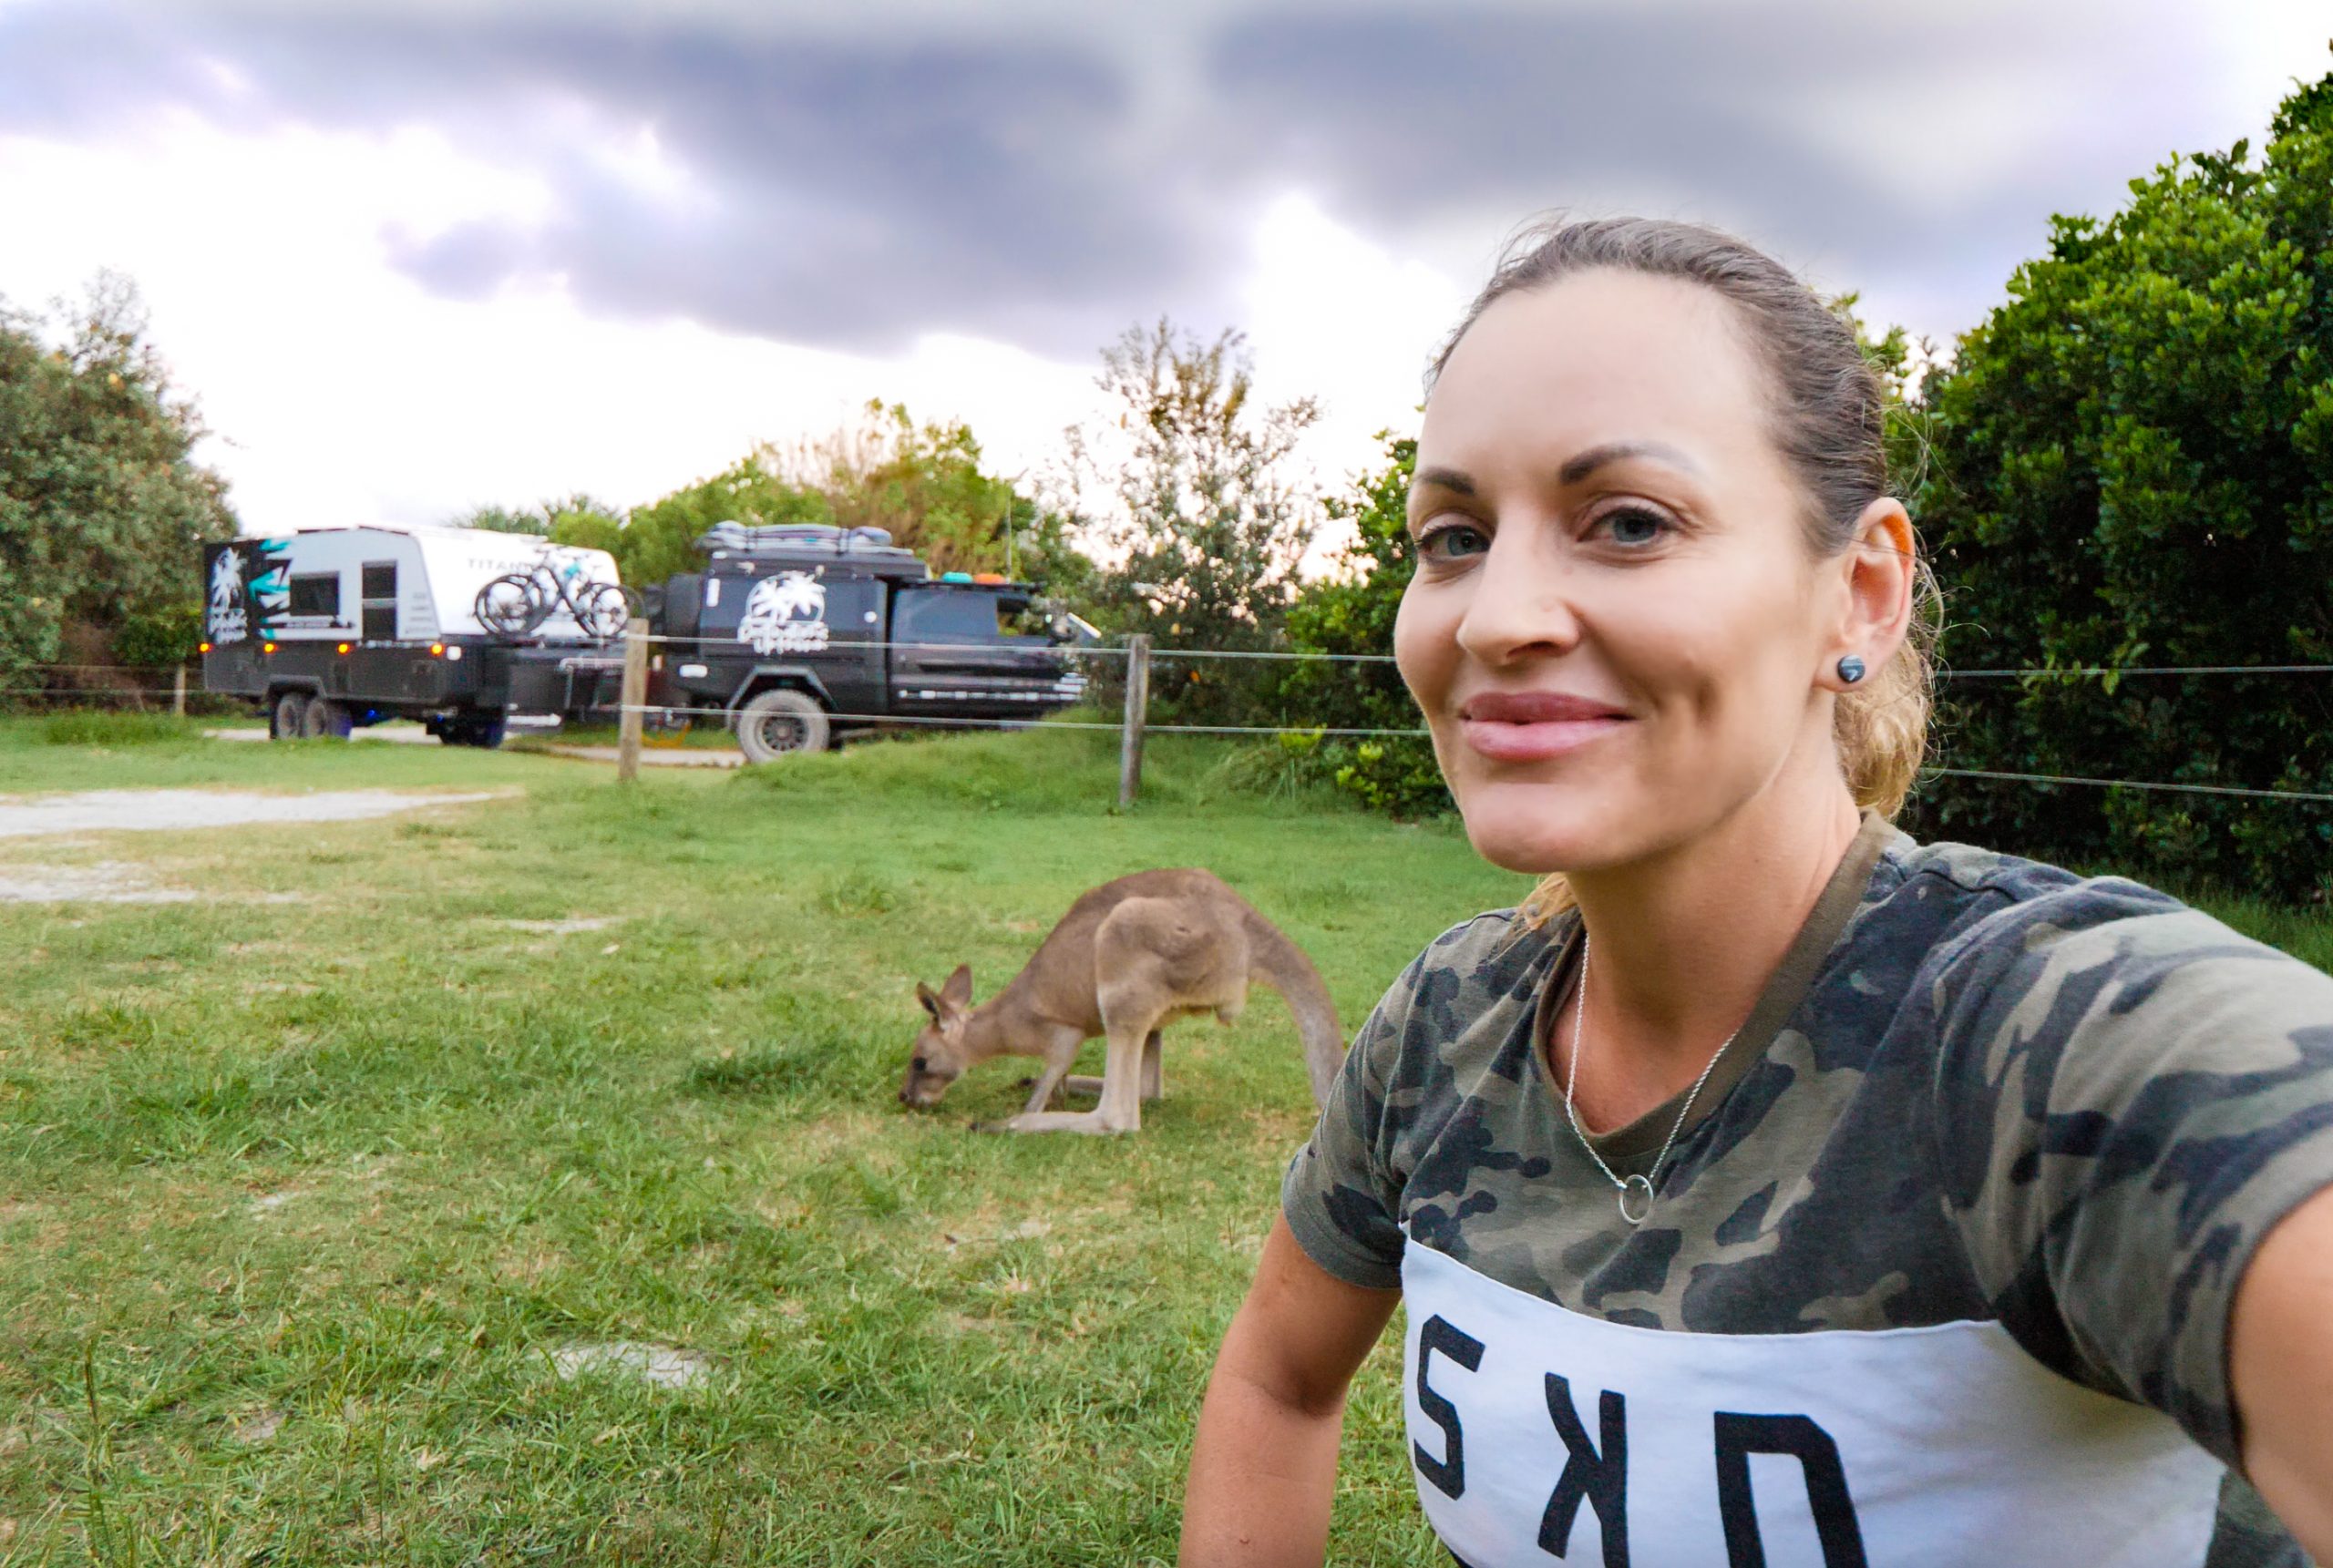
We have thoroughly enjoyed the past four days camped up at the Black Rocks Campground in the Bundjalong National Park in Esk on the NSW North Coast. We have spent quite some time in this area over the past 10 years, but this was our first time camping at Black Rocks as our usual ‘go-to’ is Woody Head Campground, just around the corner. Day trips to Black Rocks are great, but not the same as setting up camp for a few days!

‘Set behind the dunes amongst tuckeroo and banksia trees, Black Rocks campground is perfectly positioned right by Ten Mile Beach and near Jerusalem Creek. Not far from Evans Head, it is a great place for a family camping holiday, with campsites for caravans, camper trailers and motorhomes.’

When I posted on our socials about our trip, the most common question was ‘how was the road in?’ We found the road to be smooth and in really good condition. Dusty in the dry, and of course the rocks are still there as they always have been. But all in all, great condition. We did hear that just a few weeks earlier it had been very corrugated, so clearly some work has been done to it since then – my guess is in preparation for the Easter holidays.

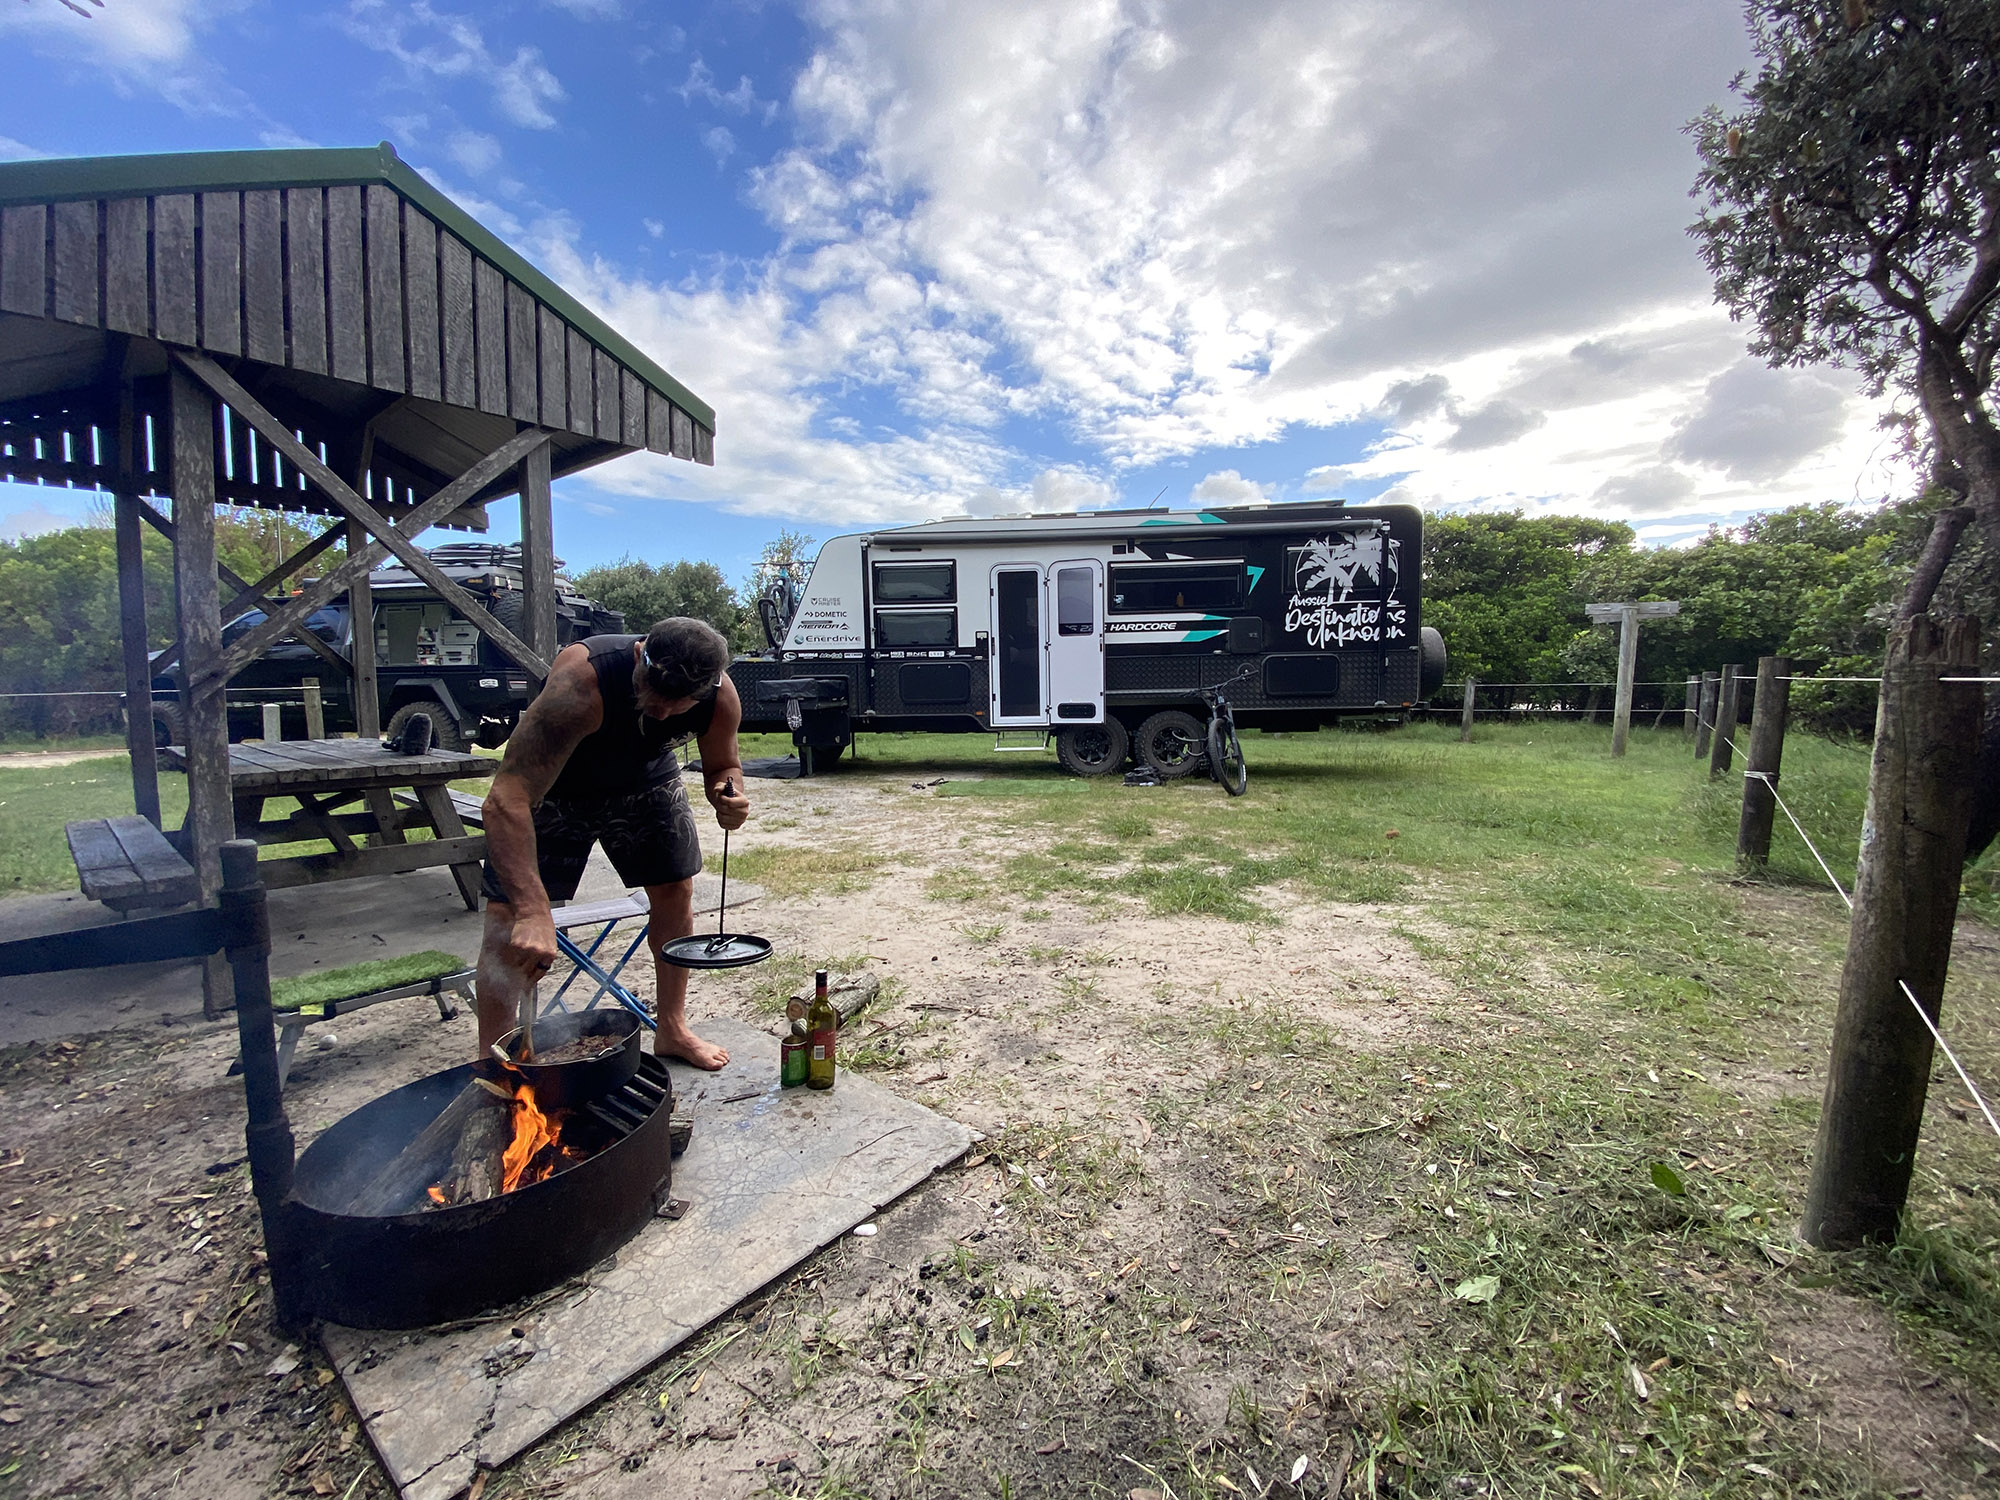
Black Rocks Campground is extremely popular, and spots are snatched up pretty quickly, especially during the holiday periods. We stayed the week before the Easter Holidays and were lucky enough to secure the very last site big enough to accommodate a caravan, which was site 28. This is a GREAT spot! It’s a large, flat, grassy site with a clothesline, fire pit and undercover table and chairs. It is also right across from the beach, toilets and public BBQ. We even had a host waiting for us upon arrival!

There are 50 sites available at the campground and most of the sites are similar, but of varying sizes. Some are suitable for caravans, some for camper trailers and others just tents. Some are ‘walk-in’ sites and others can easily fit your whole setup.

You will find picnic tables, barbecue facilities, carpark, clean drop toilets, fire pits and clotheslines dotted around the place, and there is even a dump point if you need it. You will need to bring your own drinking water and firewood.

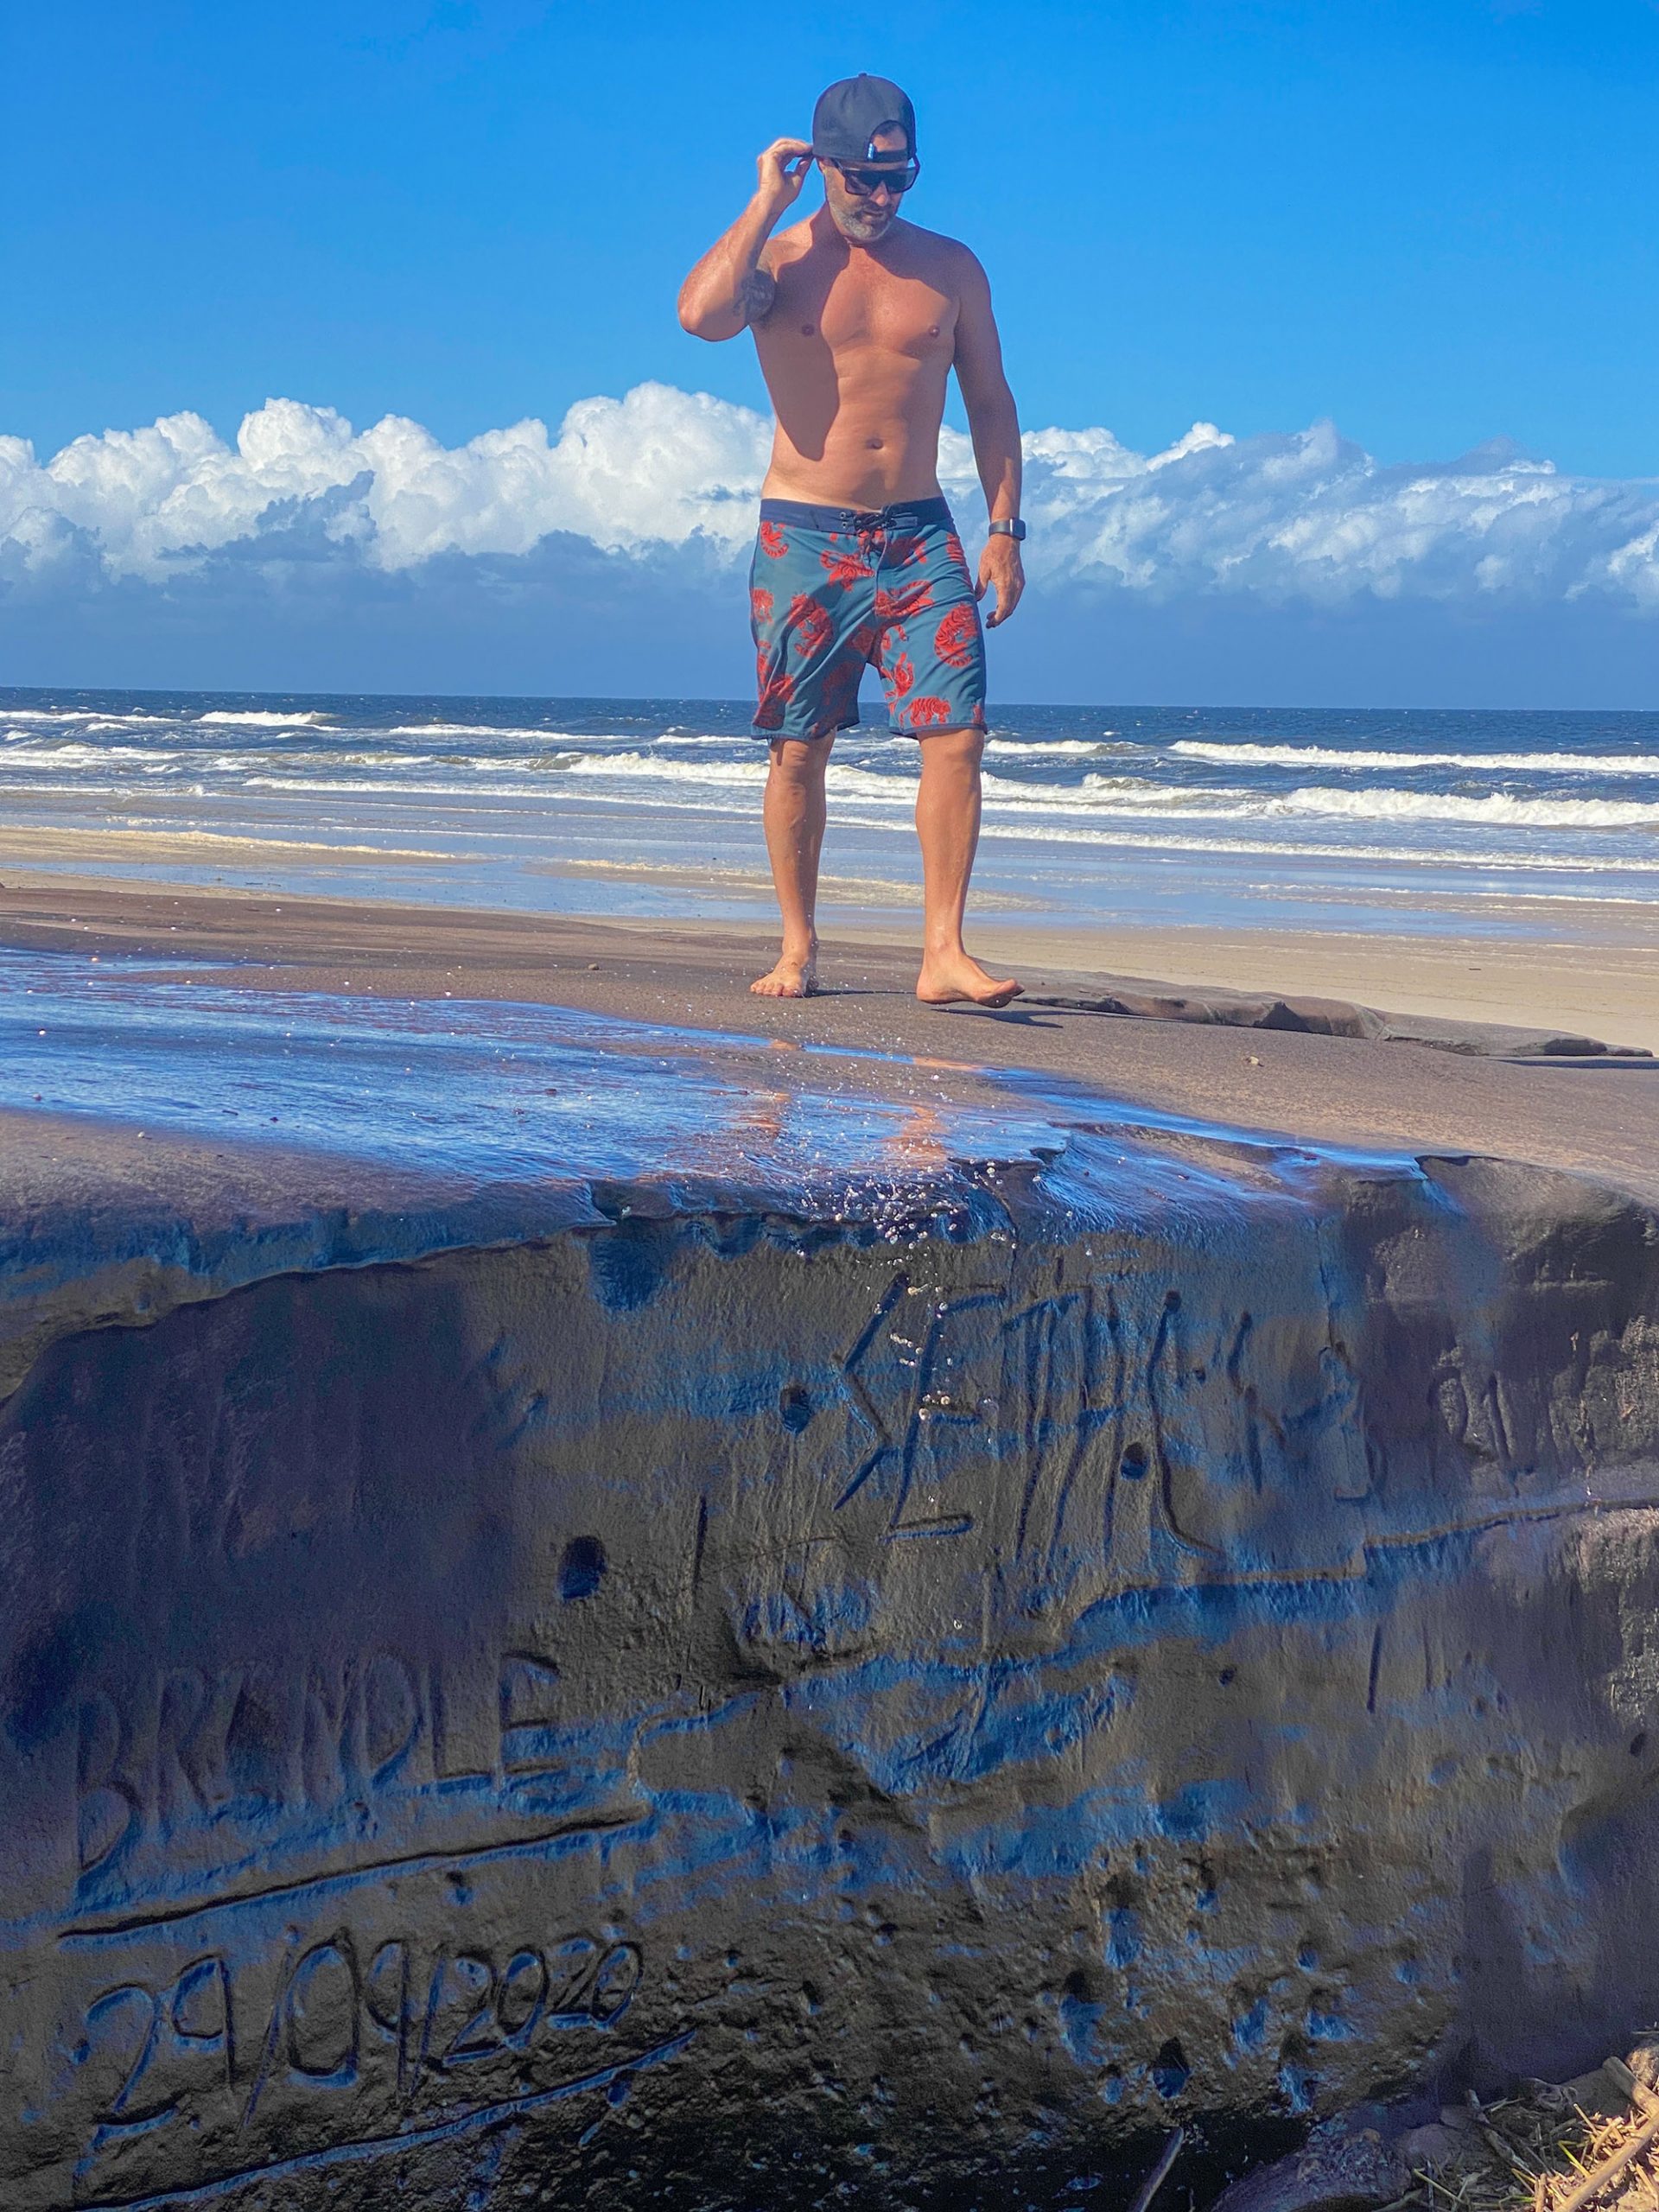
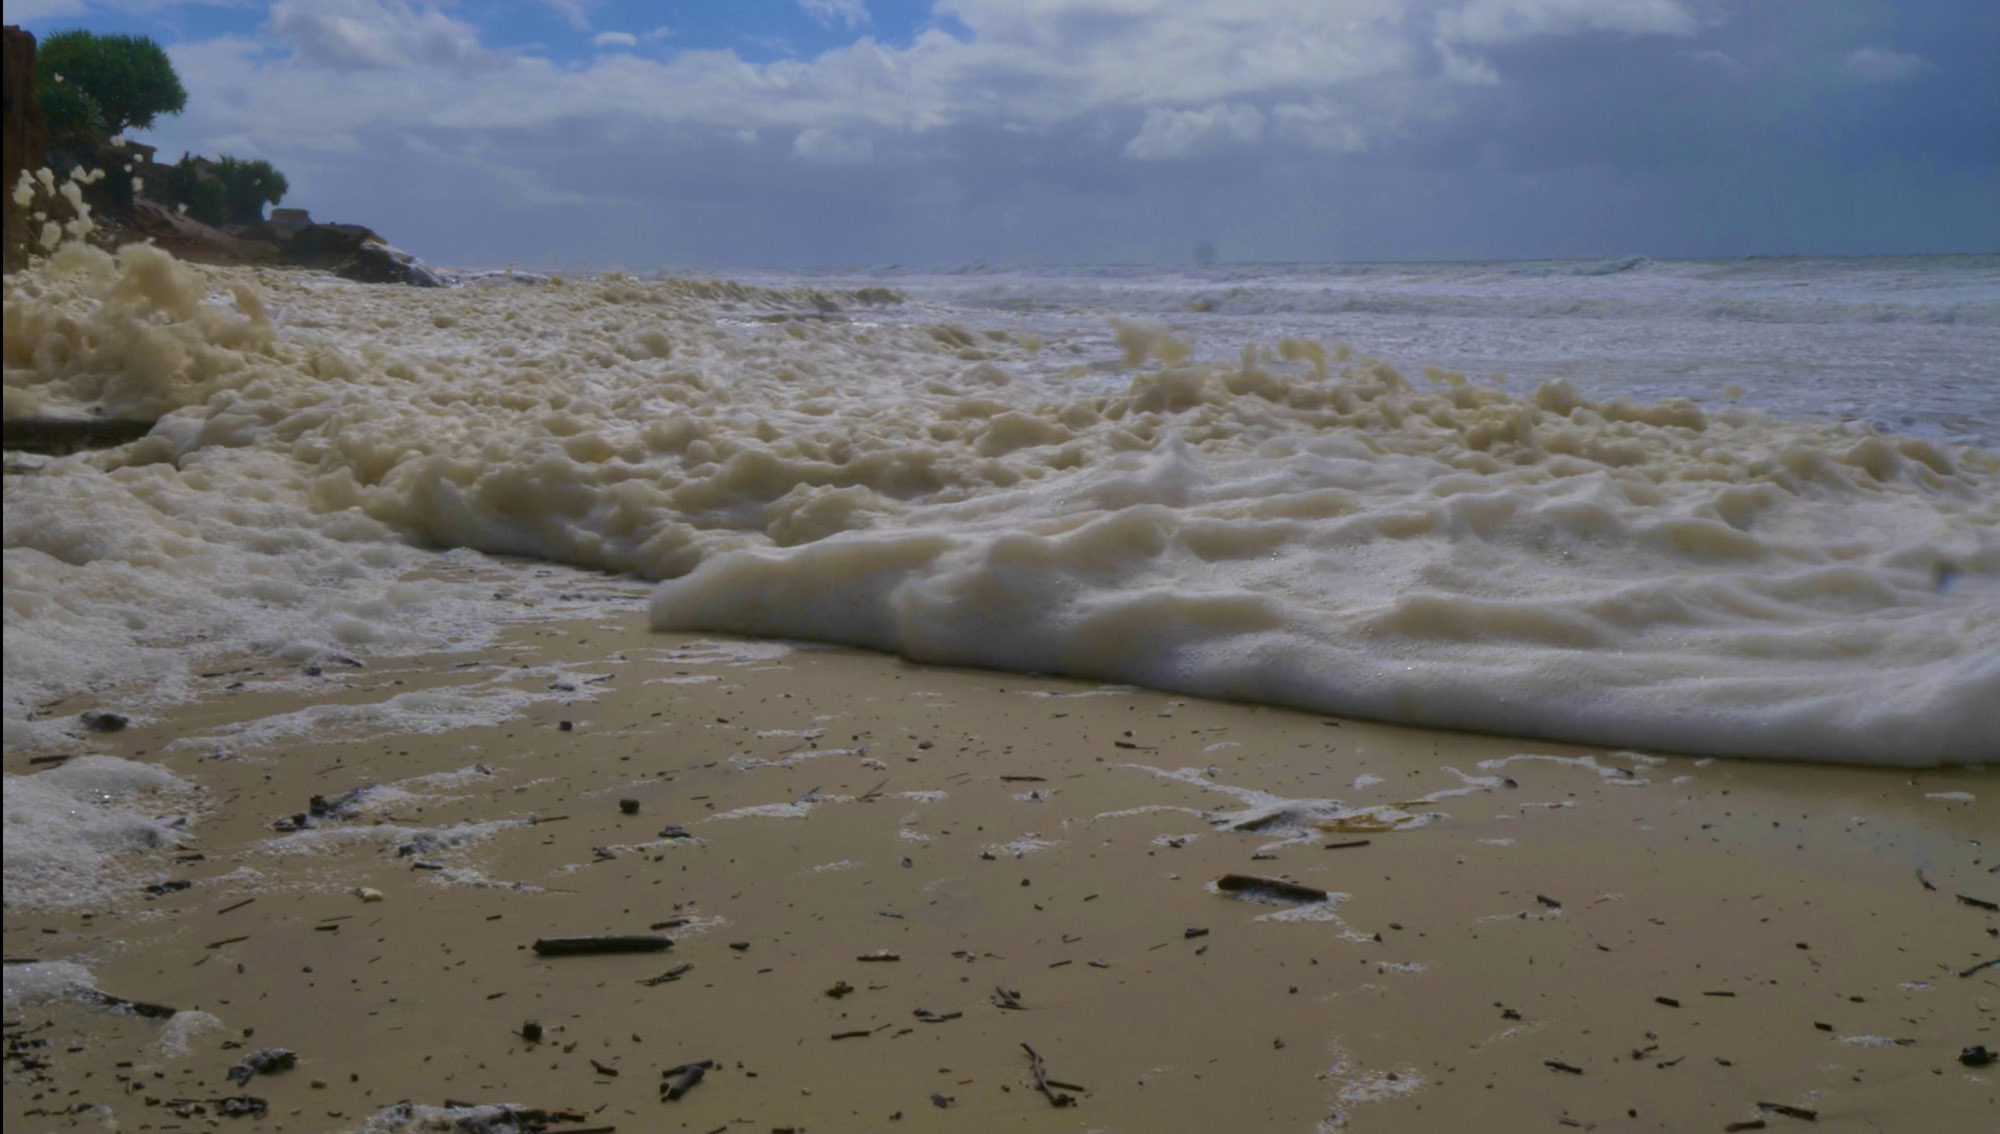
The beach itself is incredible and you could easily spend hours exploring the huge black rocks dotted all along the coastline. The weather in the previous few weeks had been a tad crazy which meant that the ocean and beach was covered in foam and quite vicious looking! It was also extremely windy for most of this stay.

Jerusalem Creek is well known for those who like to take the kayaks out for a paddle, and the Jeruslam Creek Walk is a 10.3km, three to four hour walk through the wetlands for people who prefer to explore with their feet on the ground.  

Black Rocks Campground is part of the Bundjalong National Park, which means that booking fees must be paid and permits are required. We paid $24 per night camping fee plus $8 per day for the car.

Click here to book https://www.nationalparks.nsw.gov.au/camping-and-accommodation/campgrounds/black-rocks-campground

Camp Oven Chili con Carne

Camp Oven Chili con Carne

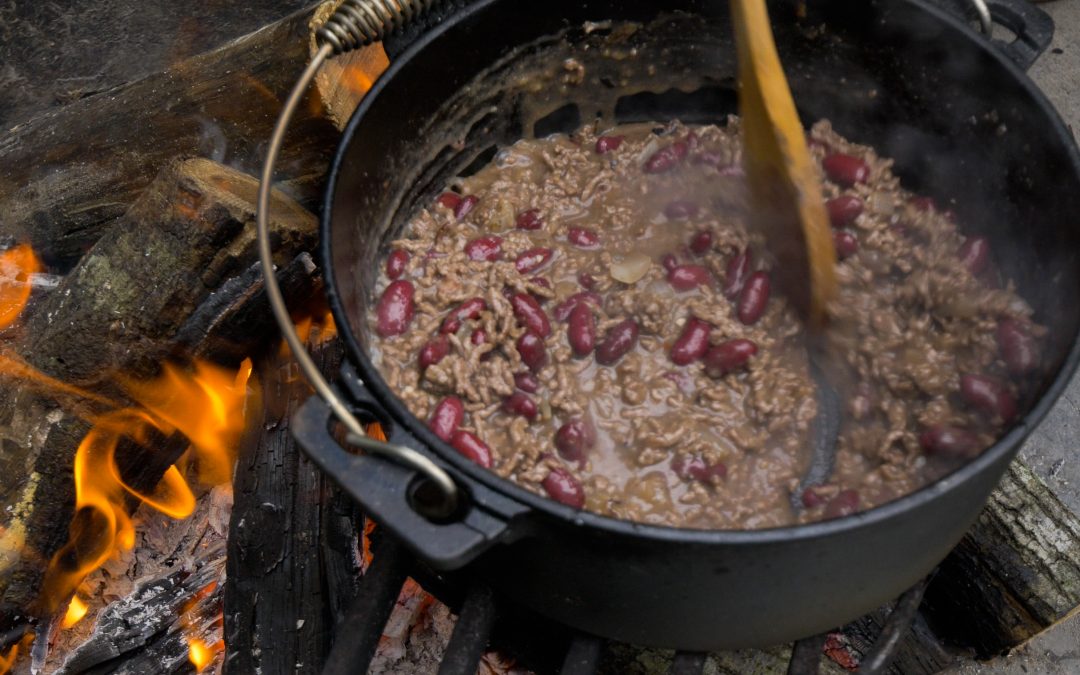
This is so easy … this is actually the first ever recipe we cooked in our brand new camp oven on our own. We used ingredients that we had in the freezer and pantry and walah! Mexican bowls for us. It really could have been done in a frying pan, but we really just wanted to use our new camp oven – and Chris had a great time cooking it 🙂


Ingredients:

  • 500g mince beef
  • 1 brown onion, diced
  • 1 red capsicum (optional)
  • 1 packet taco seasoning (or make your own)
  • Chilli and/or cayanne powder (optional and amount to taste)
  • 1/4 cup red wine
  • 1/4 cup water
  • 1 can red kidney beans
  • 1 can crushed tomatoes (optional)
  • 2 Tbsp olive oil

Method:

  1. Preheat your camp oven over the coals.
  2. Add the oil and onion and stir until onion is transluscent.
  3. Add mince beef and stir until browned all over.
  4. Add taco seasoning and stir to combine.
  5. Add water, wine, beans and tomatoes if adding and stir well.
  6. Replace lid on camp oven and return to the coals for about 10 minutes or until the liquid has reduced.
  7. If it is still quite runny, remove from the coals, take the lid off and allow to continue to cook in the pot until the desired consistency is achieved.

To Serve:

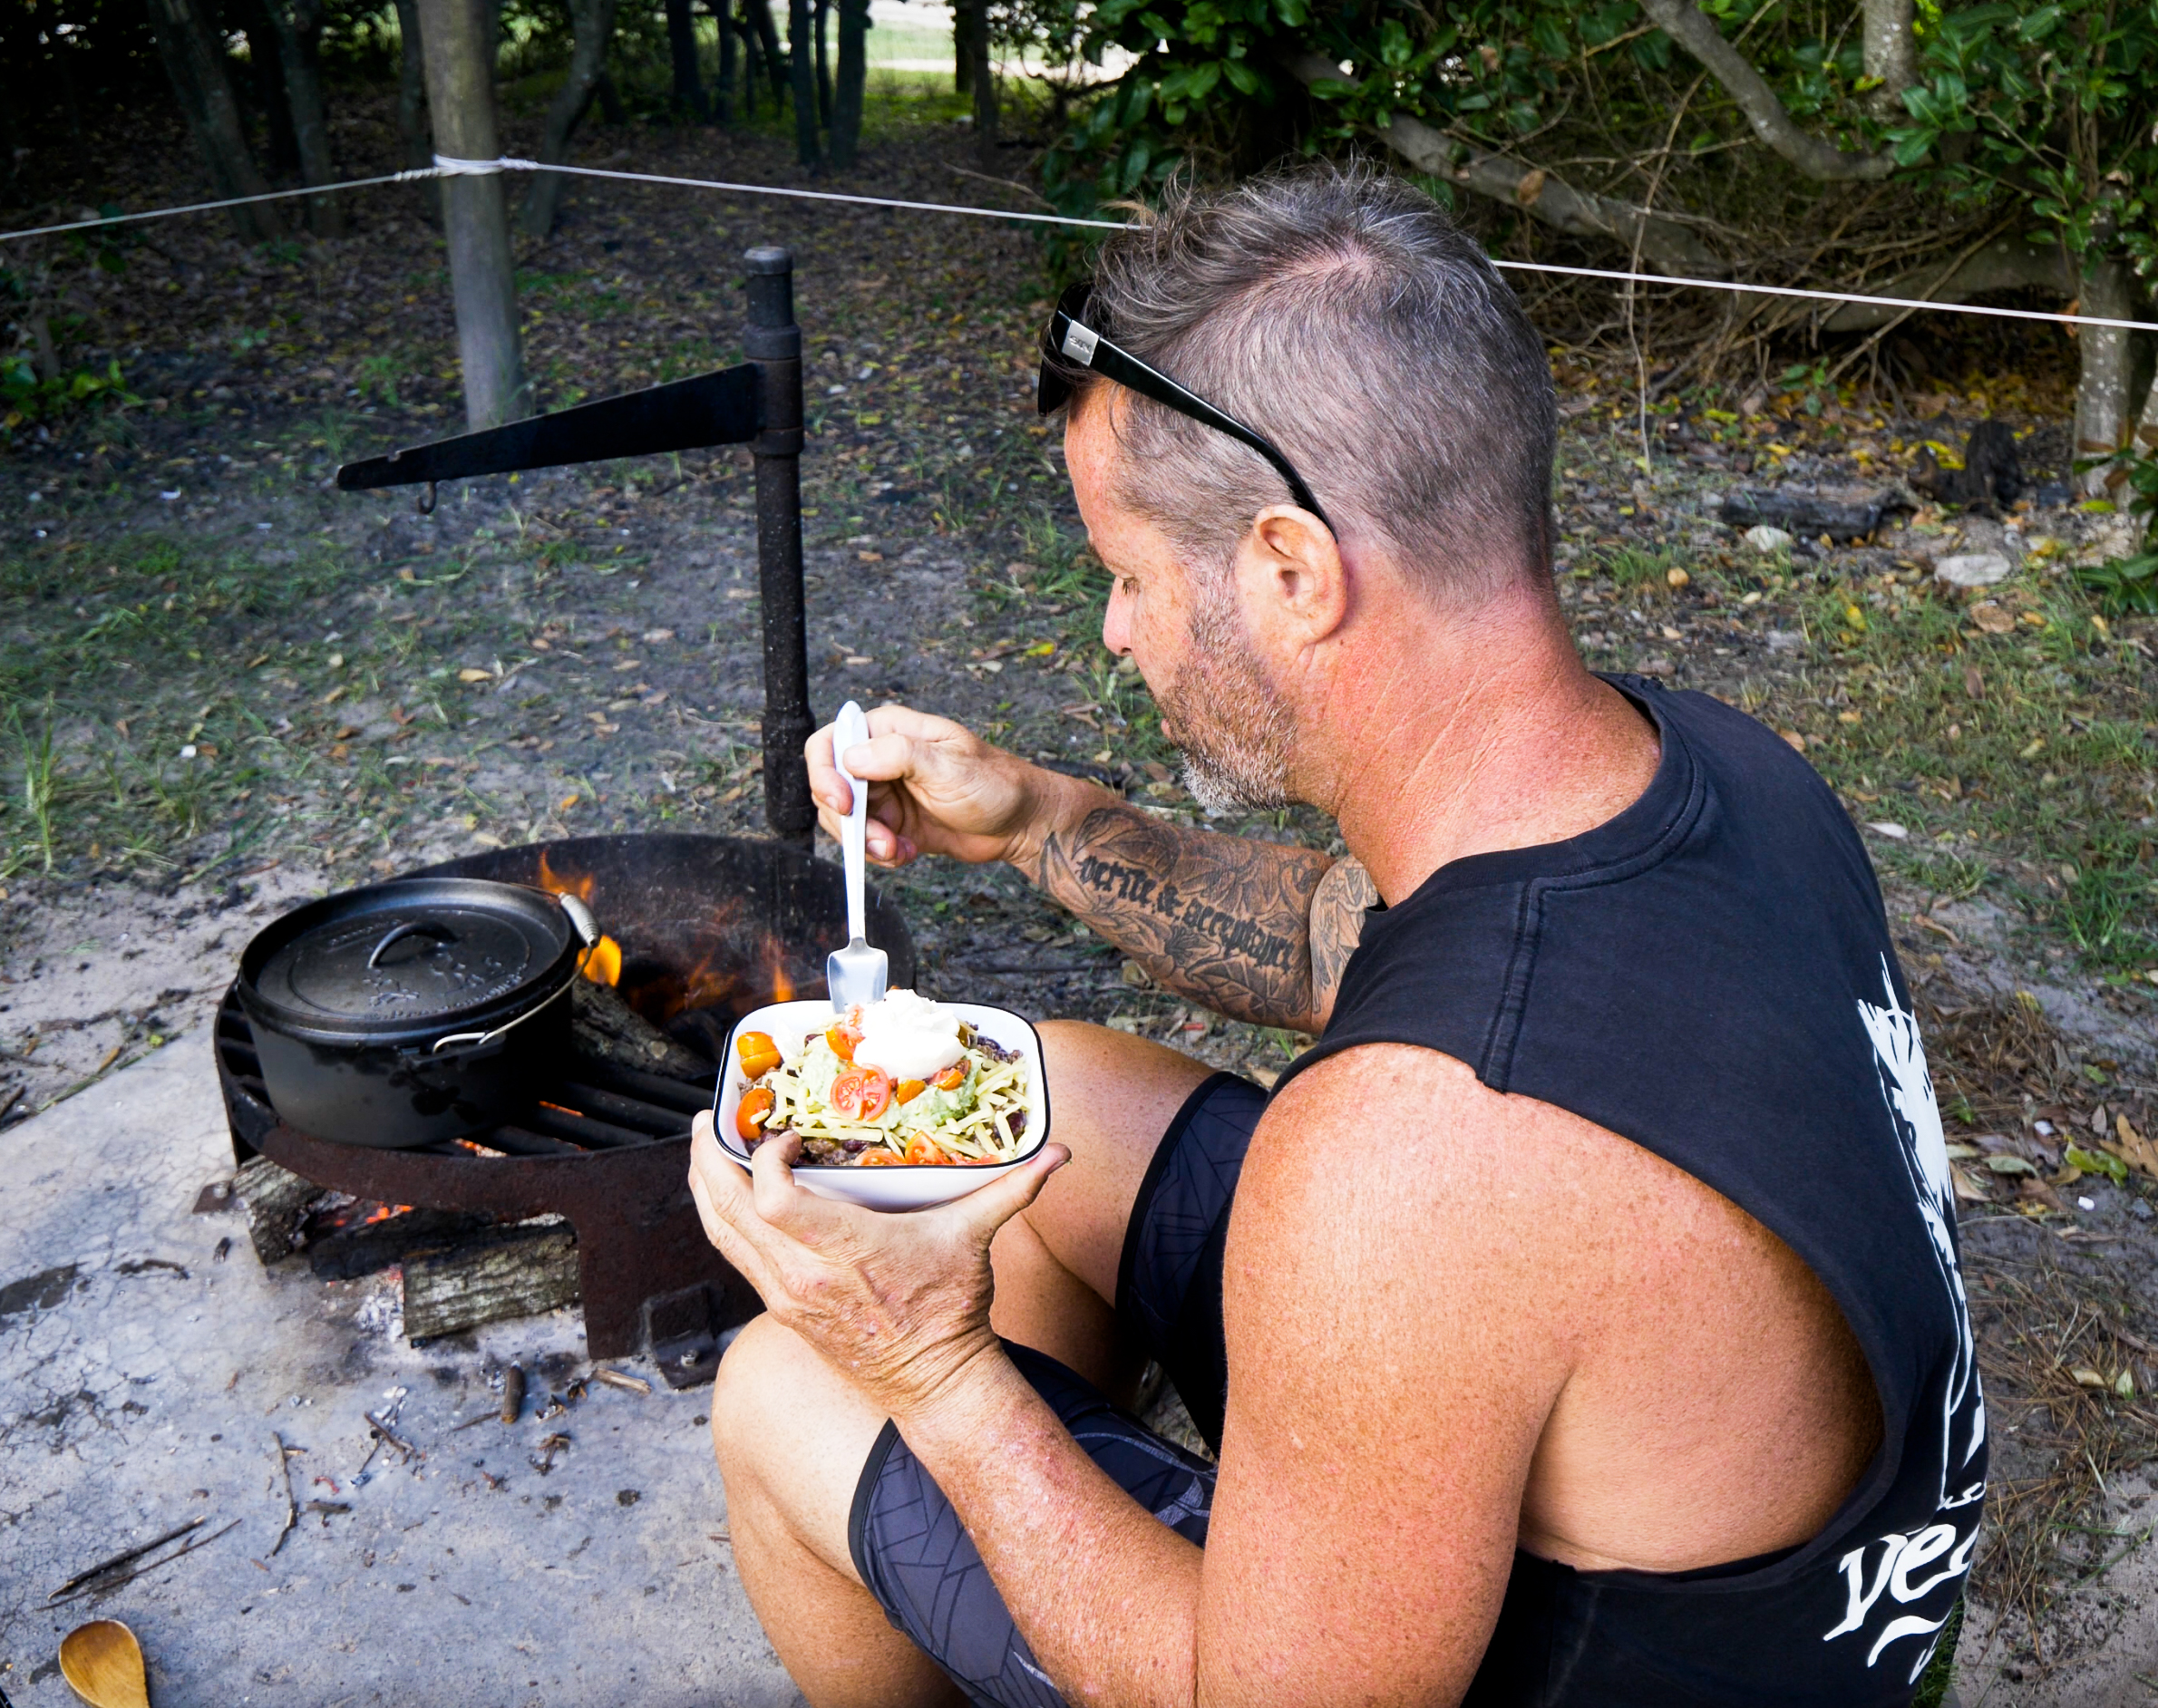
We generally try to keep things fairly low carb, so we served this in a bowl topped with cheese, sour cream, tomatoes and avo. But you could serve it in in wraps, tacos, on nachos or however else you usually eat Mexican meat. To reduce the carb content even further, omit the kidney beans and canned tomatoes.

Camp Oven Veggies

Camp Oven Veggies

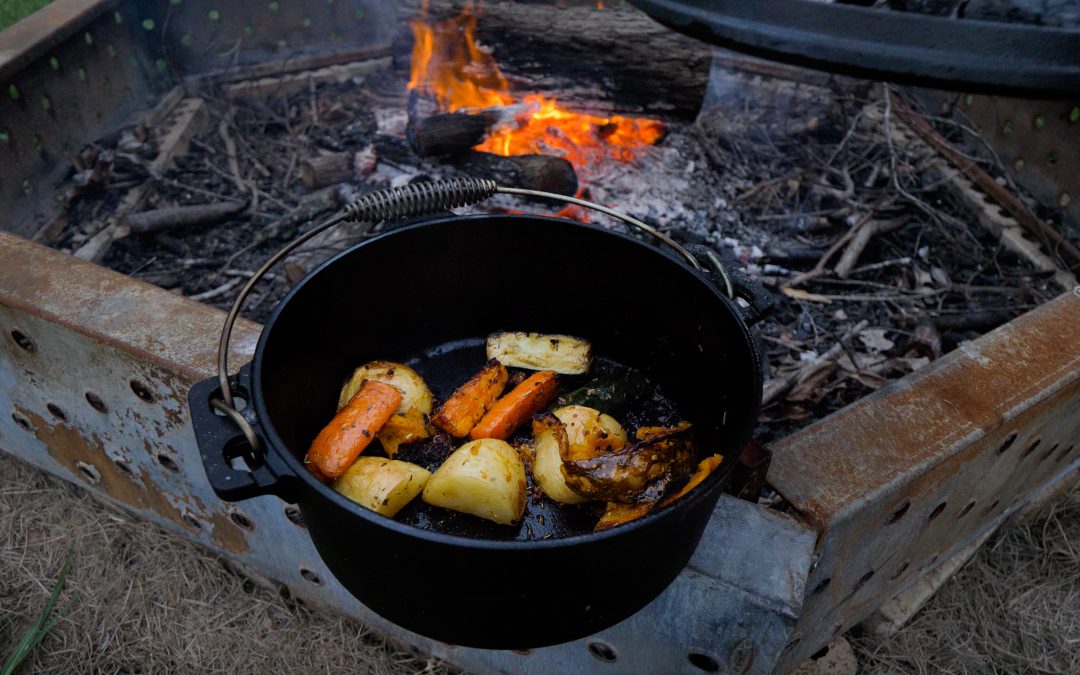
We aren’t going to pretend to be camp oven experts … in fact, this is only the third ever recipe we’ve made in our brand new cooking appliance! The first was damper made with the help of a qualified baker (!) and the second was a super simple Mexican Chili con Carne.  We just kinda wing it and hope for the best. We didn’t have a trivet (until today … after the veggies) but personally, we liked the way they crisped up on the bottom and were soft and fluffy on the inside. We’ve made it a few times like this and have just purchased a trivet from BCF today. So that will be our next experiment! For now … this is how we made our roast veggies in the camp oven. Feel free to tweak it and add your own flavours etc. Please comment below and share how you do yours!

Ingredients

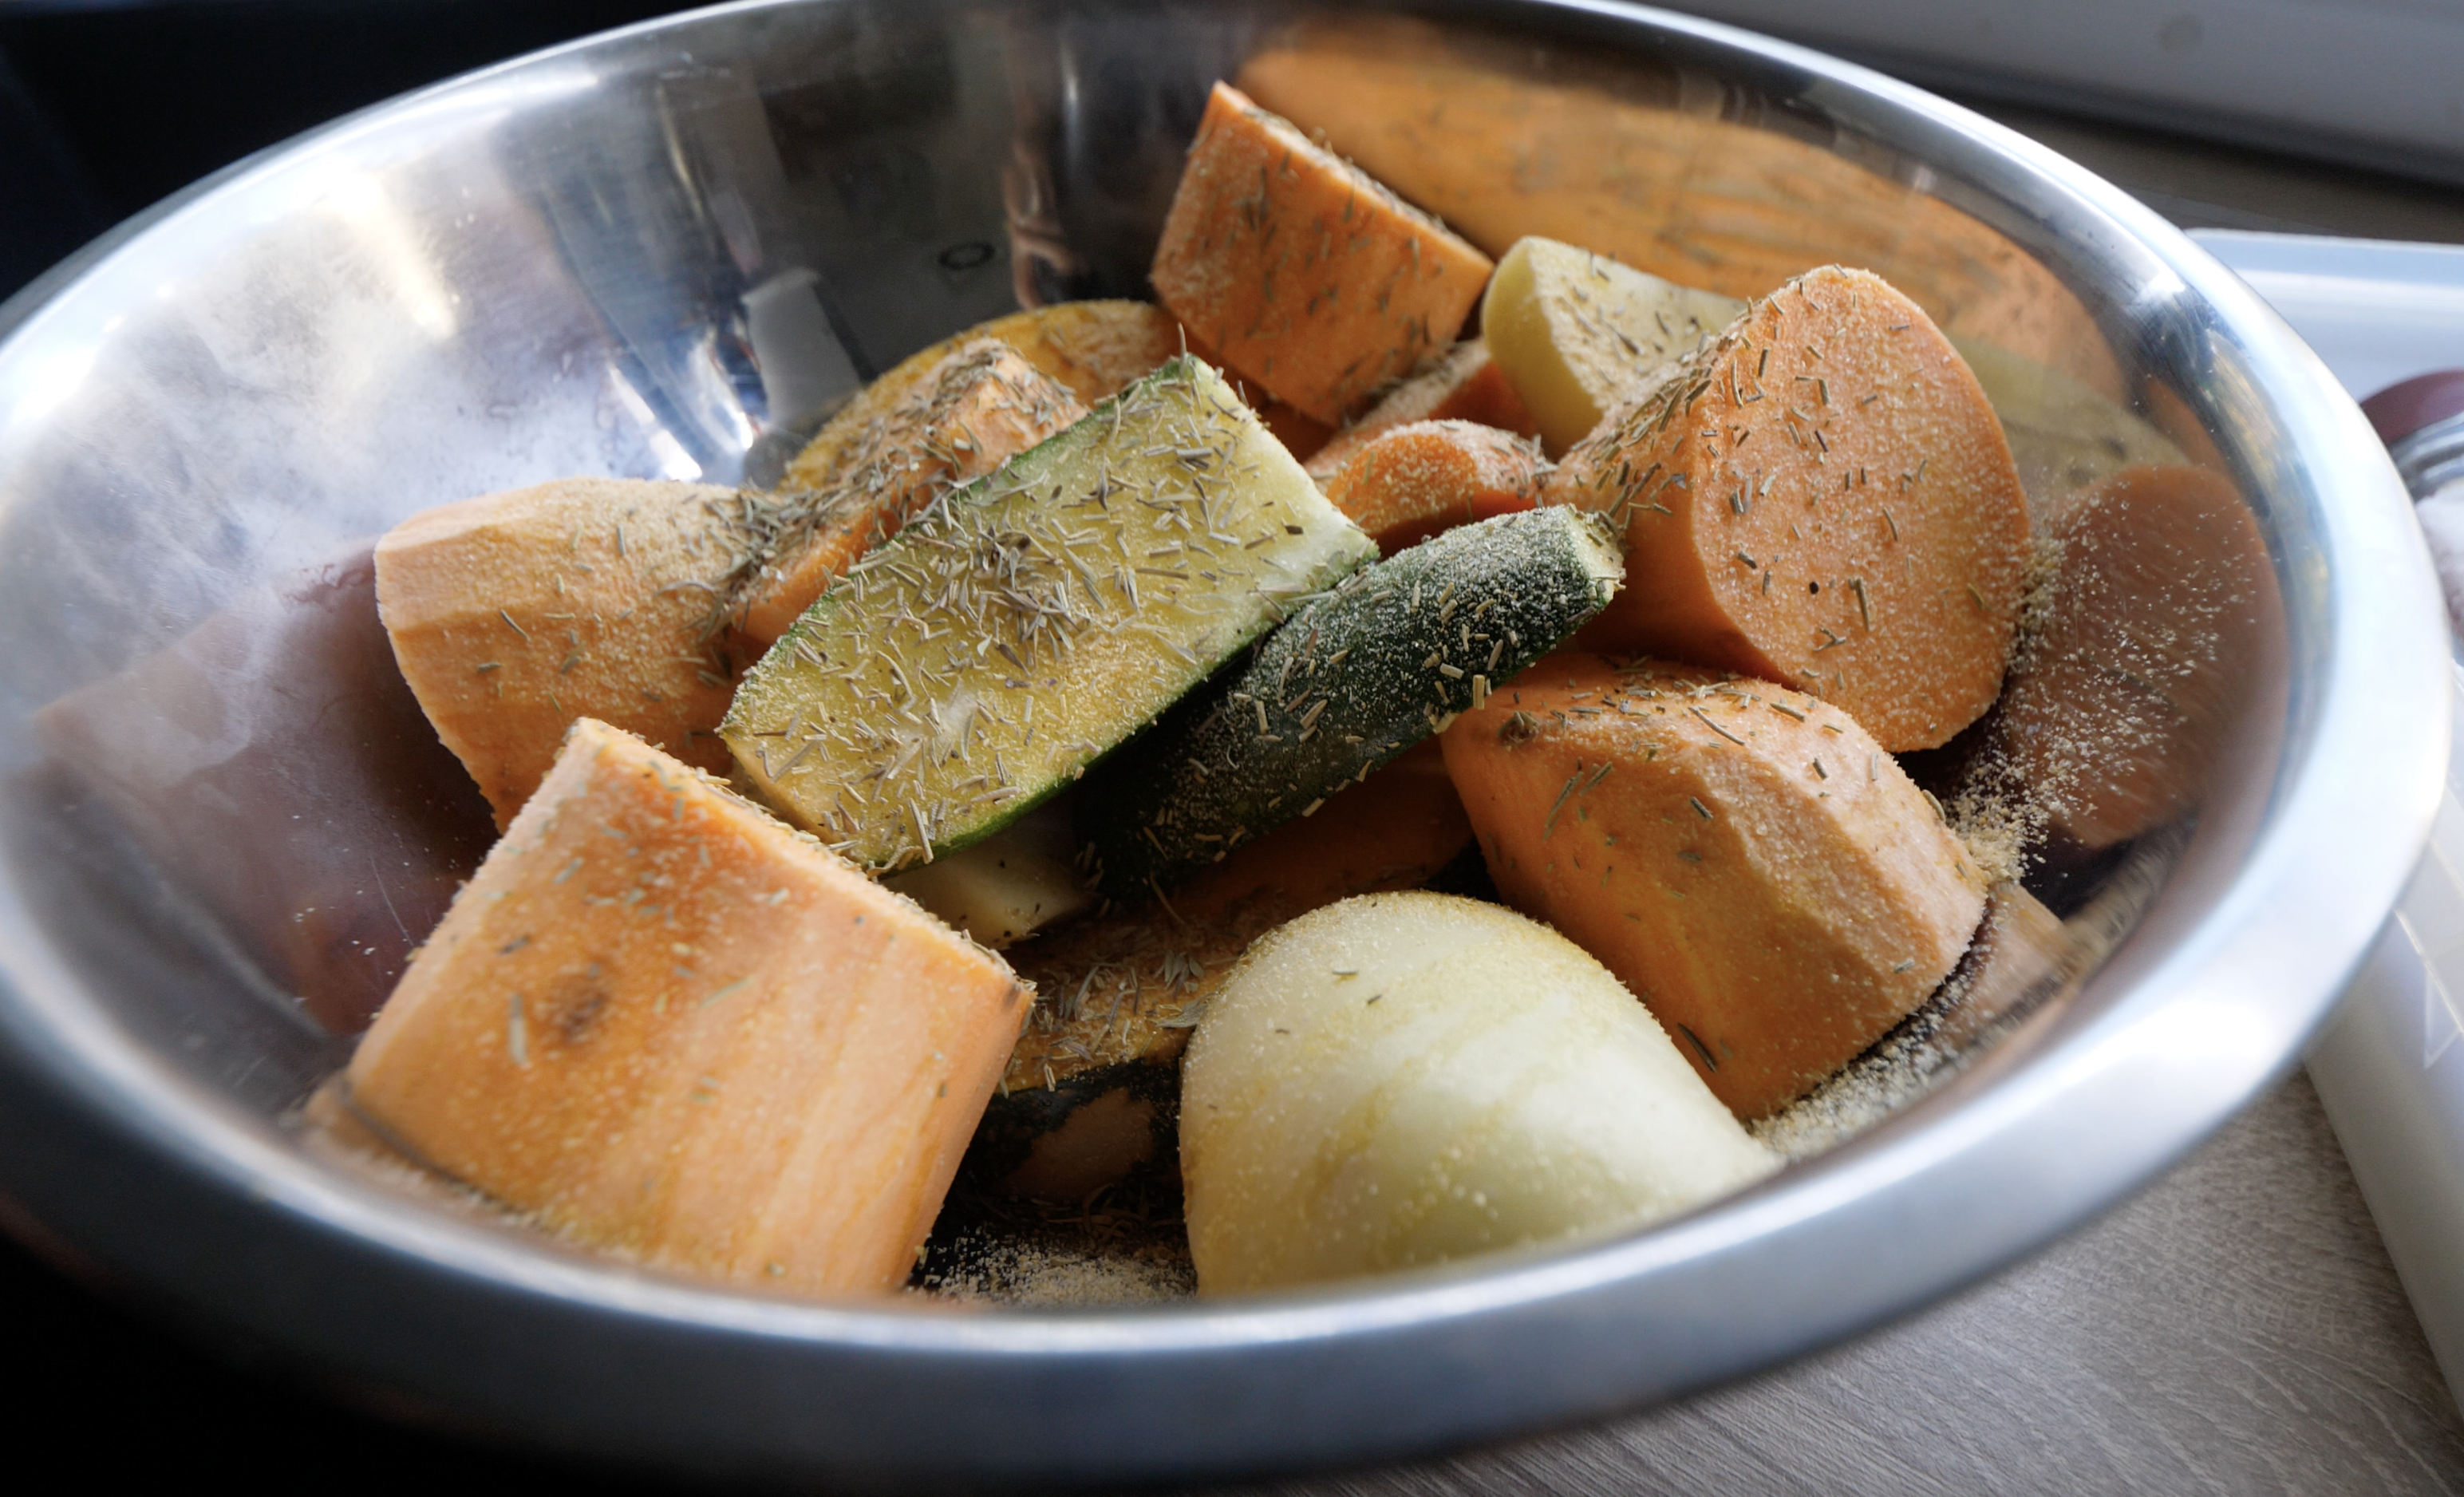
  • Veggies of choice peeled (if you like) and cut into similar sized pieces
    • Pumpkin sliced into wedges
    • Potatoes in quarters
    • Carrot in halves
    • Sweet potato (cut in a similar size to the potatoes)
    • Zucchini in halves
  • 30ml olive oil
  • 2 tsp dried rosemary
  • 2 tsp. dried thyme
  • 1 tsp. garlic granules
  • Salt and Pepper

Method

  1. Preheat camp oven in the coals of your campfire.
  2. Pre-cook root vegetables in boiling water for about 10 minutes to soften (this makes them fluffy on the inside and reduces cooking time. You can skip this step if you like and just cook for longer in the camp oven).
  3. Drain water and pour into a large bowl.
  4. Add oil, herbs and seasonings. Toss to combine.
  5. Remove camp oven from the fire, take the lid off and tip your veggies in.
  6. Replace the lid and pop the camp oven back onto the coals.
  7. Add some coals to the lid of the camp oven.
  8. Leave to cook until veggies are done to you liking. Ours took about 25 minutes having been par-boiled. If skipping this step, allow up to an hour depending on how many veggies you have.

Tips

I forgot to add the zucchini once, and added it half way through – this was fine as it takes less time to cook. Same with the pumpkin. So if you can be bothered, add the veggies that cook a little faster a bit later. If not, just throw them all in and embrace the deliciousness that comes out!